Fall is a season that beckons us to create warm, inviting spaces in our homes. With leaves changing colors and temperatures dropping, it’s the perfect time to give your living area a cozy makeover. One simple yet impactful way to achieve this is by creating a cozy accent wall. In just a day, you can transform any room into an inviting space that exudes warmth and charm. This blog post will guide you through choosing the right colors and steps to create the perfect accent wall for fall.
Why an Accent Wall?
An accent wall offers a quick and effective way to change the look of a room without the need for a complete overhaul. It serves as a focal point, adding depth and interest to an otherwise plain space. For DIY enthusiasts and home decor lovers, an accent wall is an ideal project to express creativity while enhancing the overall aesthetic of your home. Plus, it’s a great way to experiment with bold colors or textures in a manageable way.
Choosing the Right Wall
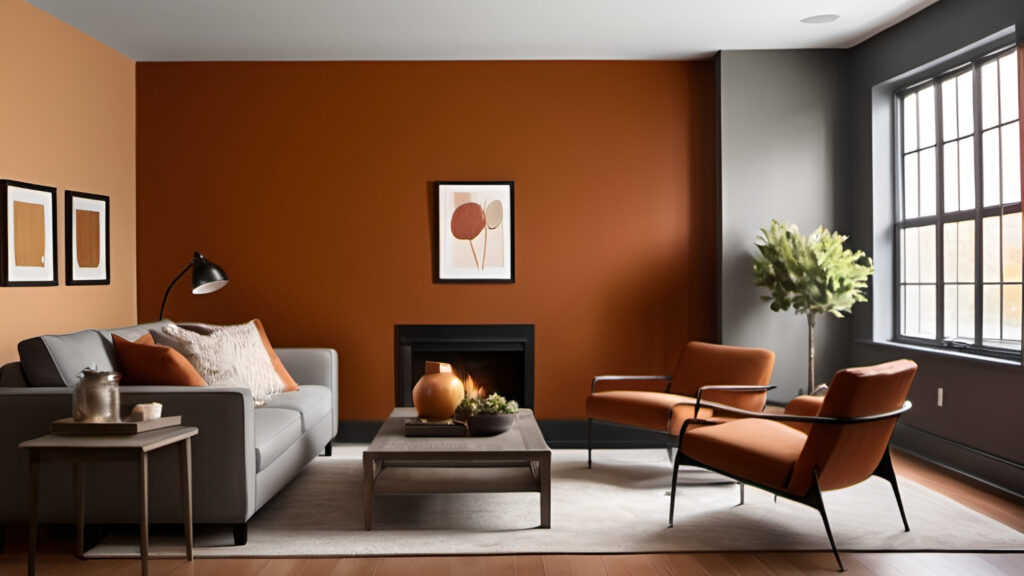
Picking the right wall to accent is crucial to ensure that your efforts will be visible and impactful. Start by considering which wall naturally draws attention when you enter the room. Typically, this is the wall that houses a fireplace, large window, or a piece of statement furniture. Also, factor in the room’s natural light; a well-lit wall will highlight the new color beautifully, while a dimly lit wall might require additional lighting solutions.
Preparing for Your Project
Before you dive into painting, proper preparation is crucial for achieving a professional finish that you can be proud of. Start by thoroughly cleaning the wall to remove any dust, dirt, or grease, as these contaminants can significantly interfere with paint adhesion, leading to a less durable result. A simple solution of soap and water can work wonders, and don’t forget to rinse well to eliminate any residue.
Next, lightly sand the surface using a fine-grit sandpaper to create a smooth base for the paint. This step is essential as it helps to enhance paint adhesion and can also minimize imperfections in the wall, resulting in a cleaner overall look. After sanding, be sure to wipe down the wall again with a damp cloth to remove any dust particles created during the sanding process.
Finally, applying a high-quality primer is vital to ensuring that the paint adheres well and that the color appears vibrant and true to its shade. A good primer will not only provide excellent adhesion but also help to block stains and create a uniform surface for the paint. One highly recommended option is Benjamin Moore’s Fresh Start® Multi-Purpose Latex Primer, which is known for its superior adhesion properties and ability to create a smooth, even finish, setting the perfect stage for your topcoat. Taking the time to prepare your walls properly will make a significant difference in the final result of your painting project.
Picking the Perfect Warm Paint Color

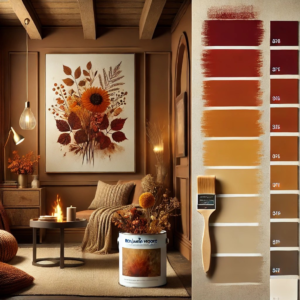
Fall is all about warm, earthy tones that beautifully mimic nature’s palette, evoking the rich colors of the changing leaves. Consider incorporating colors like rich terracotta, deep burgundy, or a warm mustard yellow into your space. These shades not only resonate with the season but also infuse your home with a sense of coziness and warmth, making it the perfect retreat as the weather cools down.
To achieve a harmonious look, you might explore Benjamin Moore’s Aura® Interior collection, which offers an extensive range of rich, lasting colors ideal for creating a stunning accent wall that draws the eye. When selecting your chosen color, think about pairing it with neutral or complementary tones on adjacent walls to create a balanced and inviting aesthetic. This thoughtful approach to color can transform your living environment into a warm and welcoming haven, perfect for enjoying the fall season to its fullest.
The Painting Process
With your color selected and your wall prepped, it’s finally time to dive into the exciting process of painting! Begin by carefully cutting in around the edges of the wall using a high-quality brush. This step is crucial, as it creates clean lines and ensures that paint doesn’t accidentally get onto your trim or ceiling, which can be a frustrating hassle to clean up later. Take your time with this process, as precision is key; a steady hand will help you achieve professional-looking results. Using a brush with angled bristles can provide better control and make it easier to get into corners and along the ceiling line.
 Once the edges are done, it’s time to grab a roller for the main surface of the wall. When using the roller, apply the paint in a “W” pattern—this technique not only helps to distribute the paint evenly but also minimizes streaks and roller marks, giving your wall a smooth, flawless finish. Be sure to work in sections, blending each new area into the wet paint to avoid any visible lines. This blending technique is especially important in larger areas, where a quick transition can make all the difference in appearance. As you progress, keep an eye out for drips or excess paint, and quickly smooth those out with your roller or brush for a polished look. Happy painting!
Depending on the specific paint type and the color you’ve chosen, you may find that a second coat is necessary for a rich and uniform finish. Lighter colors, particularly pastels, often require multiple coats to achieve that perfect hue. Be sure to check the manufacturer’s recommendations regarding drying times between coats; allowing sufficient time for the paint to dry will lead to a smoother, more professional-looking result. You might also want to consider the humidity and temperature in your workspace, as these factors can affect drying times significantly.
As you paint, enjoy the transformation of your space; take your time and make sure each layer of paint is applied thoughtfully! Remember to step back periodically to assess your work from a distance, ensuring that the color looks even and vibrant from all angles. With patience and attention to detail, you’ll create a beautifully painted wall that enhances the overall ambiance of your room.
Enhancing the Coziness
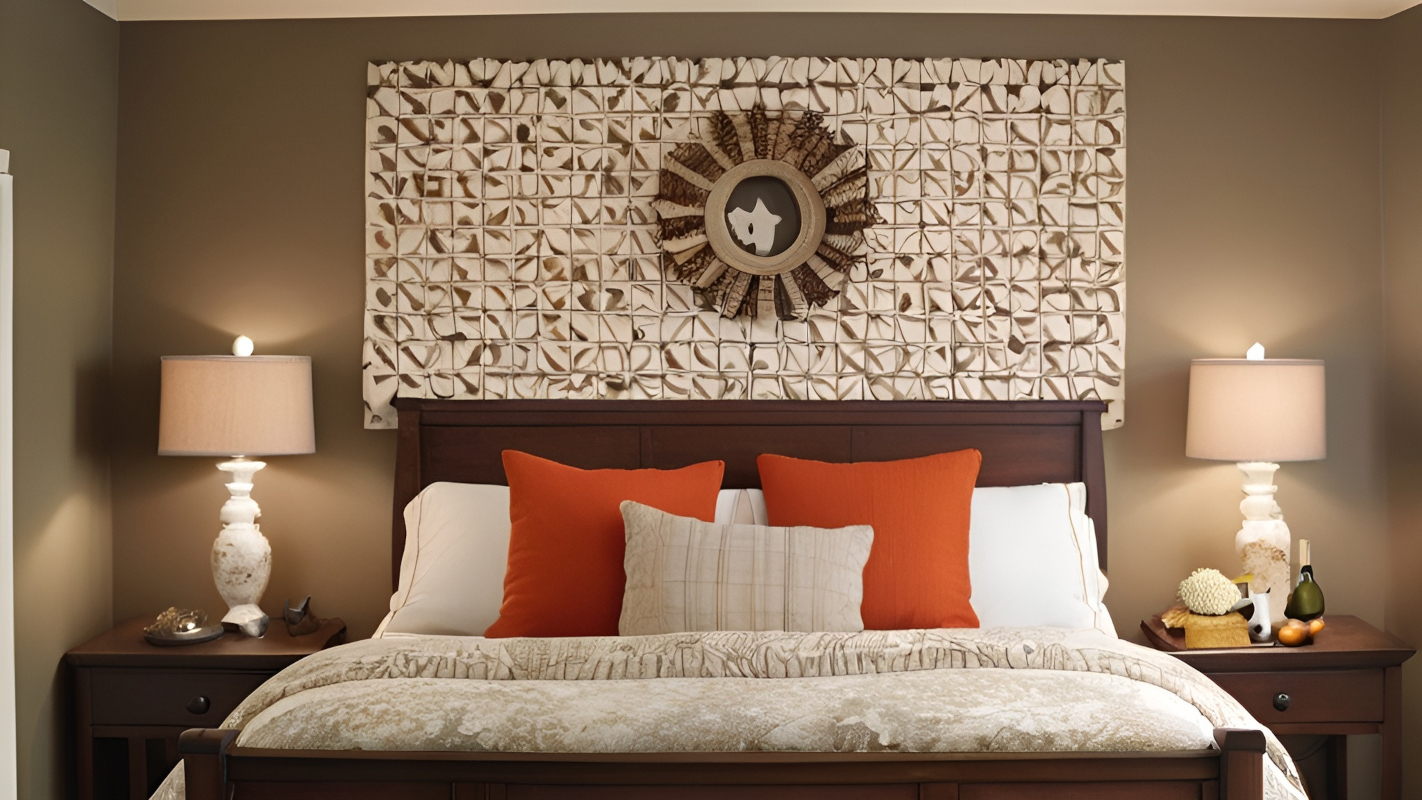
Once your accent wall is complete, you can take the opportunity to enhance the cozy atmosphere of the room with thoughtful decor that reflects your personal style. Consider adding soft textures through a variety of throw pillows in different shapes and sizes, or draping a cozy blanket across a chair or couch for an inviting touch. You might also want to incorporate warmth into the space with natural wooden elements, such as a rustic coffee table or wooden shelves, alongside metallic accents like gold or copper that catch the light and add a touch of elegance.
Don’t forget about the importance of lighting, which plays a significant role in setting the mood. Use floor or table lamps with warm-toned bulbs to create a soft, inviting glow, or hang string lights to add a whimsical touch that highlights the new color of the wall. These elements not only enhance the overall aesthetic but also contribute to a welcoming ambiance, making the space feel like a true retreat.

Conclusion
An accent wall is a powerful tool in transforming your home for fall, infusing it with warmth and personality. By following these steps, you can achieve a cozy and stylish look that reflects the season’s beauty. Share your cozy transformations with us and inspire others to create inviting spaces in their homes this fall. If you’re looking for more tips or personalized advice, don’t hesitate to reach out to our team of experts who are ready to help bring your vision to life. Happy decorating!
Recommended DIY Project Essentials
To ensure that your DIY painting project proceeds smoothly, consider stocking up on these high-quality products from shop.customcolorsnc.com:
- Benjamin Moore Aura® Interior Paint – For a rich, lasting color and a flawless finish that’s perfect for accent walls.
- High-Quality Angled Paint Brush – Ensure clean lines and precision around edges and corners.
- Premium Paint Roller Set – Achieve even coverage with a smooth application using these essential tools.
- Painter’s Tape – Protect your trim and ceiling by creating sharp, professional-looking edges.
- Drop Cloths – Protect floors and furniture from accidental paint splatters.
These items will not only assist you in creating a beautifully painted room but also ensure your project is efficient and enjoyable from start to finish.
